Avoid lumps, unwanted textures, and an ugly surface from appearing in your drywall repair job. By following some simple steps, you can get your wall looking like no damage ever happened.
homeandgardeningguide.com gathered information and step-by-step instructions on how to repair torn drywall paper.
Repairing Torn Drywall Paper
To repair torn drywall paper, you will need a few simple tools and supplies from your local hardware or home improvement store, such as:
• 6 inch Joint Knife (scraper)
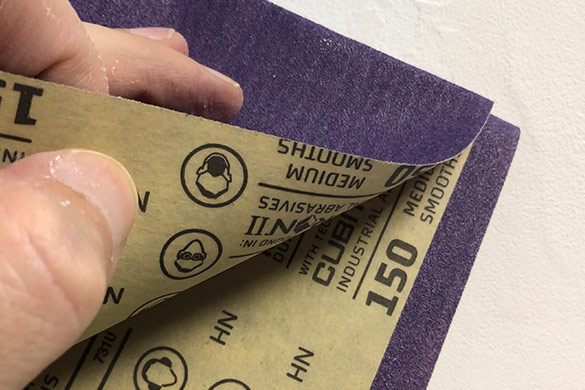
• Sandpaper (150 grit)
• Plastic Drop Cloth (one for the floor and more to cover furniture, electronics, etc.)
• Large Sponge (soft texture is best)
• Spray Bottle (filled with water)
• Protective Latex Gloves
• 2 Paint Rollers (one for the primer and one for the paint)
• Paint Tray with 2 Liners (one for the primer and one for the paint)
• Shellac or water-based Wall Primer
• Spackle, Joint Compound, or Drywall Mud
Use the following steps to help you make clean and efficient repairs:
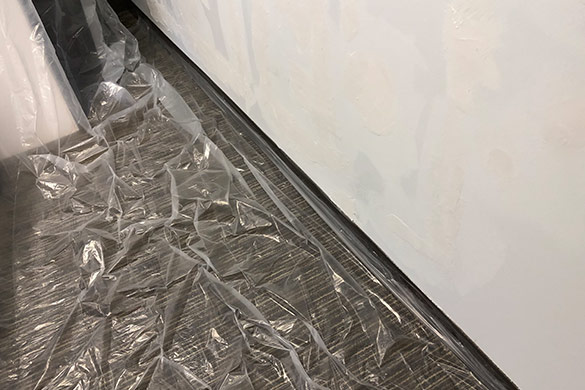
Drywall Paper Repair Step 1 – Cover with Drop Cloths
Get one drop cloth on the floor with one edge taped to the baseboard under the damaged area, and extend the drop cloth several feet in either direction to catch as much debris as possible.
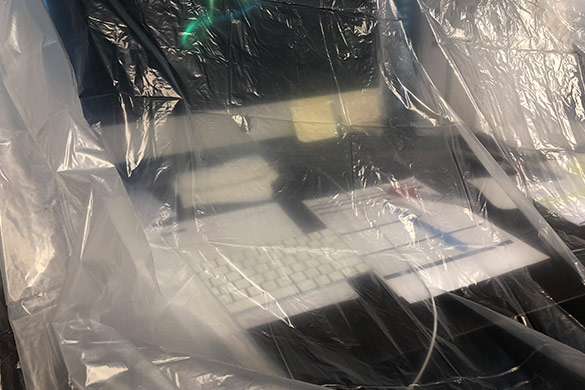
Use multiple drop cloths to cover desks, furniture, computers, Televisions, plants, and books.
Note: Even the slightest breeze from a fan or air conditioning vent may carry particles far from the area being repaired.
Drywall Paper Repair Step 2 – Scrape the Damaged Area
Use the joint knife (scraper) to scrape away any loose pieces of paint or drywall paper. This process may enlarge the area to be repaired but is necessary to achieve a well-executed, flat and seamless repair.
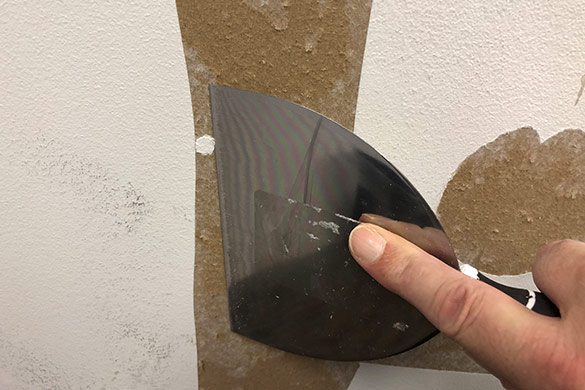
Avoid using a blade or x-acto knife to cut away rough edges. Doing this may cause you to score the sheetrock, creating a weakness in its structural integrity.
Drywall Paper Repair Step 3 and 7 – Apply Primer
There are two steps in the process where primer should be applied during drywall repair. For this step, once you have scraped away all of the loose drywall paper and paint, apply a thin coat of primer to the damaged areas.
Do so using a roller, roll on the primer using some force. You want the primer to get into the cracks, crevices, and loosened paper to re-strengthen the damaged areas.
Wrap the roller in plastic to prevent it from drying out; it will be used again in step 7.
Drywall Paper Repair Step 4 – Apply Spackle, Joint Compound, or Drywall Mud
Once the primer has dried, use your joint knife to spread the spackle onto the area being repaired. The following will help you avoid extra work:
• Apply generous amounts of spackle to the damaged area
• Use your joint knife to run over it, taking away excess material
• Leave approximately an eighth of an inch of material above wall level
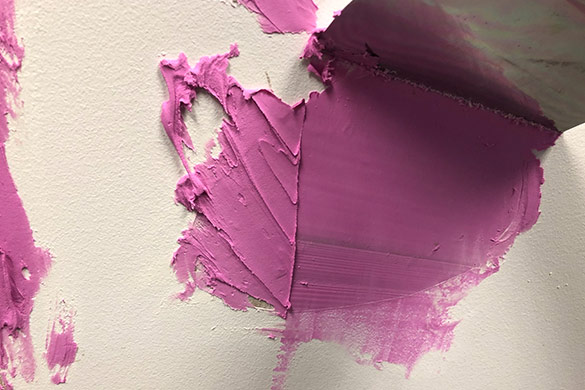
It is essential to put enough spackle on the repair. You can sand the excess away, but when you have to apply more after the fact, you lose time and risk ruining the job.
When you have an area that the spackle doesn’t want to adhere to, apply it by hand, using pressure until it stays where you applied it. Use the joint knife to scrape the excess away.

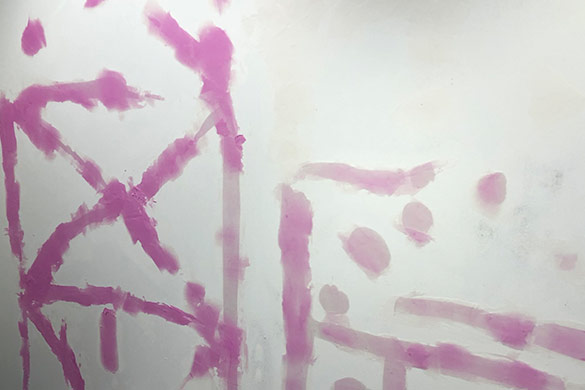
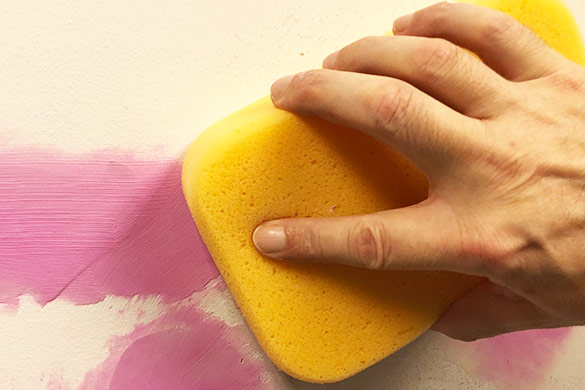
When the spackle goes on rough, or leaves flaky edges after scraping the excess away, Spray the area with water and lightly smooth it over with a soft sponge.
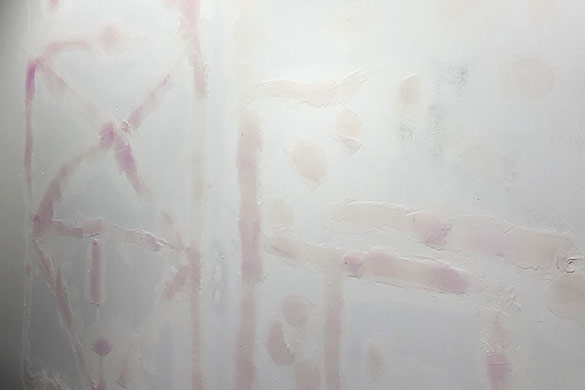
Once you have filled all of the damaged areas, allow the spackle, joint compound, or drywall mud to completely dry. Some compounds are colored when wet and fade to white when dry. Generally, eight to ten hours is enough time for your repairs to completely dry.
Drywall Paper Repair Step 5 – Sanding
Before beginning the sanding process, make sure that your drop cloths are covering your furniture, desks, electronics, and carpet. This is fine dust that travels easily with the slightest breeze.
Use a 150 grit sandpaper to remove any excess compound. Sand both horizontally and vertically until you have flattened the repair level with the wall.
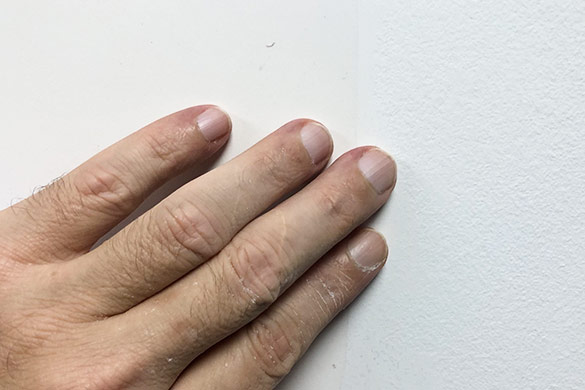
Use a ruler or flat edge against the wall to confirm that the surface is level. Use a pencil to mark areas that still need to be sanded gently.
Once you have finished sanding, take a moment to look over the finished areas and confirm that no spots were missed or left rough.
Drywall Paper Repair Step 6 – Cleanup
Using a soft-bristle brush, brush the repaired area from the top down to remove any residual dust from the wall. Then, using a clean, slightly moistened cloth, wipe the area from the top down.
By cleaning the wall, you will ensure that the primer has a clean surface to adhere to and avoid any bubbling or peeling.
Carefully remove the drop cloths from your furniture and electronics. Replace the drop cloth on the floor before applying primer and paint to finish the job.
Drywall Paper Repair Step 7 – Apply Primer
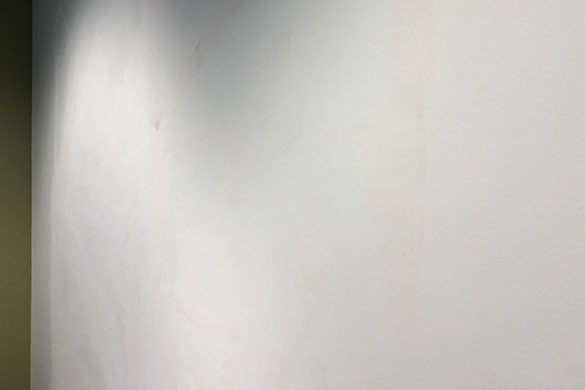
Now that you have finished sanding and cleaning the wall apply another coat of primer to the repaired areas using the same method as in step 3.
The primer will stop the repaired areas from soaking up paint and leaving faded or darkened marks on your finished wall.
For professional tips on painting your wall, read homeandgardeningguide.com/improvement/painting/diy-interior-painting-trim-baseboard-crown-molding/
Watch this video about primer application:
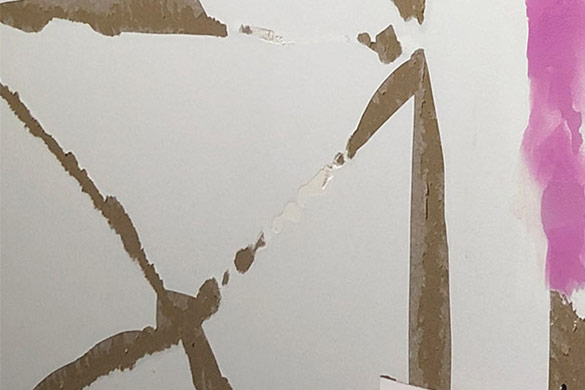
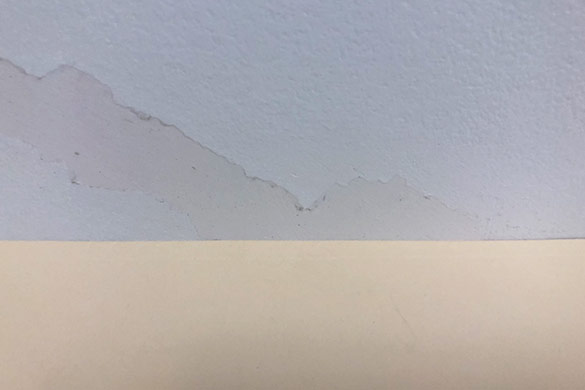
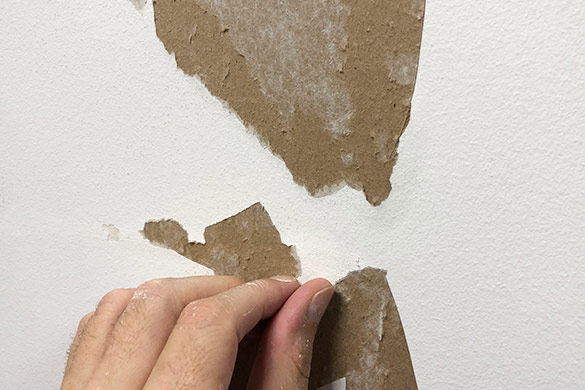
Torn Drywall Paper
Drywall “facer” and “backer” paper is the covering that protects and reinforces panels of sheetrock material (calcium sulfate dihydrate or gypsum).
Sometimes, the facer paper can be torn away, exposing the actual “sheetrock”, and leaving an unsightly gash in an otherwise perfect wall. The following may cause drywall paper to tear and should be avoided if possible:
Glue – Using glue to anchor a vanity mirror or other large object to a wall is common practice. However, when the glued object must be removed, it will likely tear the paint, primer, and drywall paper wherever the glue was applied.
Tape – At times, we put tape on a wall to re-do the trim on a paint job, mark a spot to hang an object, or secure something to the wall. Like glue, strong adhesive tape can tear drywall paper away when removed.
It is recommended to use painter’s tape or tape with a lower adhesive quality if it is applied directly to your wall.
Nails and Anchors – We use nails and anchoring systems to hang paintings, pictures, and other objects on the wall. Removing those nails or anchoring systems can not only tear the drywall paper, but they can also break the drywall, causing a bulge or even a large hole.
Drywall Paper Repair Tips
In this article, you discovered step-by-step instructions and professional tips on how to restore damaged drywall and its paper.
Fixing your damaged drywall will not only restore the aesthetic to your room, but also increase the value and appeal of your home.
With a little effort and guidance, you can easily restore the wall and make its damaged paper or drywall look like nothing ever happened.
Sources:
heightslibrary.org/materials/hrrc/26-Drywall-Plaster/PLASTER-DRYWALL_REPAIR.pdf
iafcs.org/docs/Docs_Repairing_Minor_Damage_Presentation.pdf
Visit http://www.homeandgardeningguide.com/repairs/interior/ for more interior home repair articles, resources, and tips.
The post How to Repair Torn Drywall Paper appeared first on http://www.homeandgardeningguide.com
No comments:
Post a Comment